Our partners over at the Cambo official blog just shared a few tests of the Actar 24 and Actar 60 lenses when used for image stitching. I know a lot of you have been wondering about the possibilities of what can be created using these two brand new lens options, and I couldn’t just let this pass by un-noticed!
Cambo has built a reputation for designing and manufacturing technical cameras and more recently the Actus system has been proven a favorite choice for many landscape and architectural photographer.
During the recent On Landscape Conference “A Meeting of Minds” the Actus was on show along with the Actar 24mm and 60mm lenses.
The weather was horrendous and once the storms disappeared we ventured out to test the current Actar lens offerings.

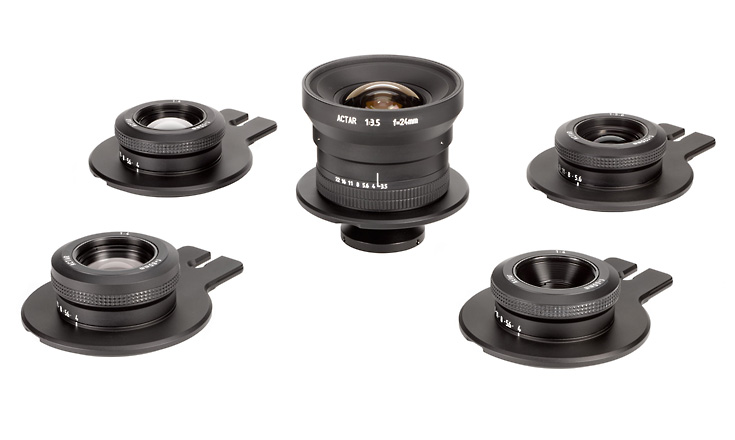
The Actar 24mm is specifically designed for use with the Actus. It comes complete with a lens plate that locks direct into the front standard.
Although photographers are adopting mirrorless camera systems a majority of users still have DSLR systems from Canon and Nikon and require a wide-angle lens that will focus at the extra distance required to compensate for the mirror box. This is the reason why there is a large rear element on this lens.

When using a mirrorless camera the focus is racked back a little more away from the lens than a DSLR with mirror box. The lens is inserted into the front standard and locked in place by a lever. Before you shoot any images it is important to find the lens infinity point. Your dealer can show you how to do this, although we will cover this in another blog.
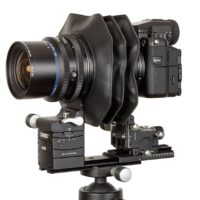
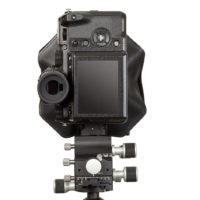
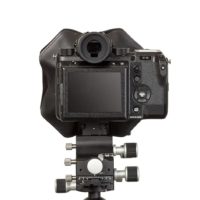
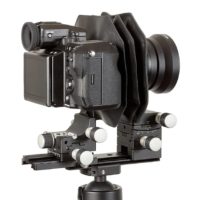
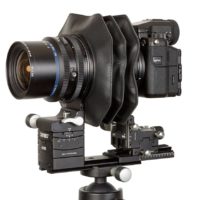
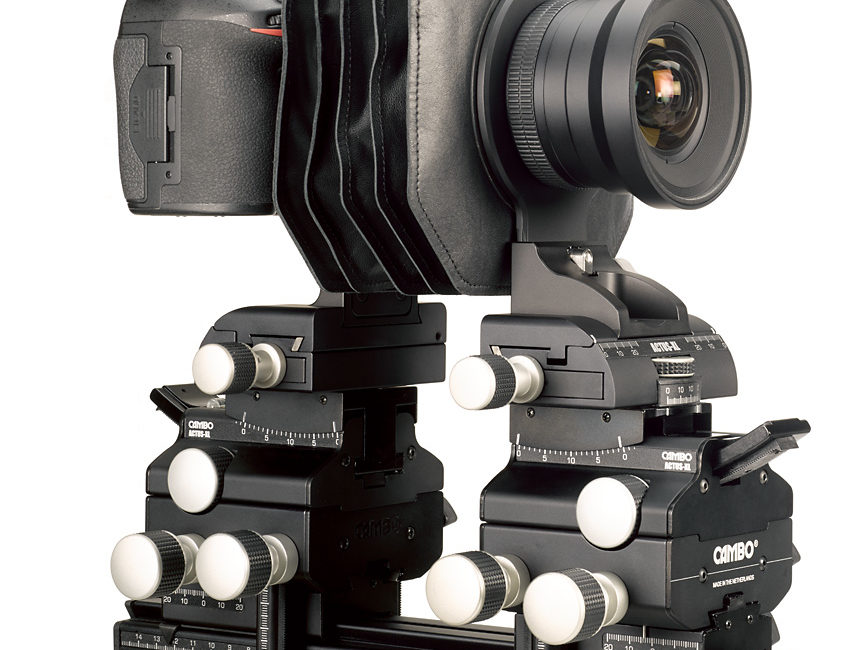
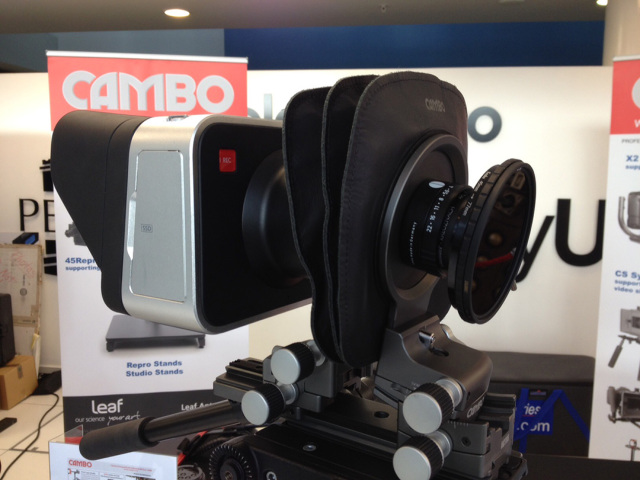
For this test we used the following; Cambo Actus Mini View Camera, Sony A7R, Actar 24mm lens, Standard bellows, CBH-6 ball and socket head and Manfrotto 055 CF tripod.
Using the Sony to meter the exposure at ISO50 was 1/8 sec at F16. The RAW file was captured with generic Sony profile and 2-second self-timer to avoid camera shake.

The lens image circle is quite large, 60mm, so the Actus can be shifted horizontally 12mm left and 12mm right. For this shot we shifted 10mm left and 10mm right.
Once the RAW files were captured we imported the files into Capture One Sony Express and processed them using the Sony Generic profile and saved as a TIFF file to preserve the data.
Capture One pre-set sharpening was used, as shown below, but there was no need to increase this. The handrail and window detail is sharp.


The auto merge in Photoshop CC2015 is extremely good. We had a slight edge to the left and bottom of the file when merging, probably due to the positioning of my tripod on the cobbled paving!
Select Content Aware when using auto merge and this will calculate the edge fill. Photoshop does a great job of this and as you can see from the image you can’t tell this adjustment has been made. The ant trail is shown on the image, select the Content aware tool and click on the ant trail to complete the fill.

The Photoshop layered file to be stitched is 938.6MB layered file, 322MB (flattened.) The TIFF file is 1.59GB. The pixel dimension of the capture is 11456 x 4912 at 300dpi / Print output 38.18” x 16.37” 300dpi.
The images we use for the blog are 1080 wide at 72dpi, reduced to manage on the blog. The cropped imaged was taken from the middle of the panorama at 100% zoom. The file is 15.7MB, 2528 x 1087 at 300 dpi with a print output of 8.42” x 3.6” at 300dpi.

The day started and ended with mist. The image was captured around 2:30 pm and there was still a small amount of mist across the distant Elizabethan building.

Following on from our shoot with the Actar 24mm, we were in a good location to capture images with the recently launched Actar 60mm f4 lens.
Within half an hour of shooting with the 24mm the light turned golden and although it looked warmer, trust me it was much colder!

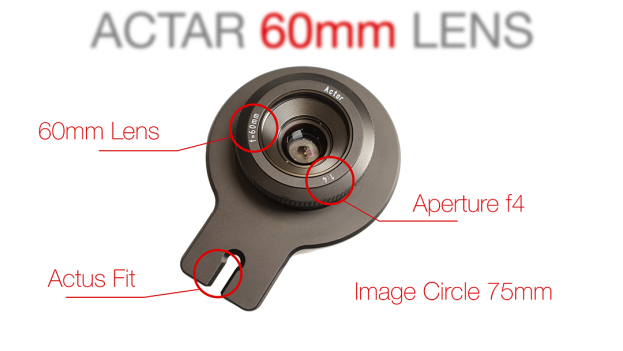
The Actar 60mm is supplied fitted with a lens plate that slots directly in the front standard of the Cambo Actus camera platform. It is compatible with Mirrorless cameras. The large image circle of 75mm enables you to shift the camera body 19mm left and 19mm right, a huge 38mm shift producing an effective 66mm x 54mm stitched sensor capture – as its a longer lens there is not the distortion effect you obtain from a wide angle lens.

Again you need to find the infinity of the lens but this is easier to achieve, as it’s a longer lens. For this test we used the following; Cambo Actus Mini View Camera, Sony A7R, Actar 60mm lens, Standard bellows, CBH-6 ball and socket head and Manfrotto 055 CF tripod.
Using the Sony to meter the exposure at ISO50 was 1.0 sec at F16. The RAW file was captured with the generic Sony profile and a 2 second self-timer was used to avoid camera shake.

As already mentioned the lens image circle is quite large, 75mm, so can be shifted horizontally 19mm left and 19mm right. For this test we shifted 10mm left and 10mm right.
Once the RAW files were captured we imported the files into Capture One Sony Express and processed them using the Sony Generic profile, 16Bit and saved as a TIFF file to preserve the data. Capture One pre-set sharpening was used, as shown below; there was no need to increase this.

The only real change was the warmer natural light, so we enhanced the contrast to keep as much detail in the image. I prefer the warm light, its much more pleasing to the eye.
The Photoshop layered file to be stitched is 929.8MB layered file, 322MB (flattened.) The TIFF file is 1.24GB. The pixel dimension of the capture is 11456 x 4912 at 300dpi / Print output 38.18” x 16.37” 300dpi.

The Photoshop CC2015 auto merge, content aware and edge fill process was the same as when we processed the Actar 24mm files.
The images we use for the blog are 1080 wide at 72dpi, reduced to manage on the blog. The cropped imaged was taken from the middle of the panorama at 100% (approx.) zoom. The file is 8.8MB, 1893 x 812 at 300 dpi with a print output of 6.31” x 2.7” at 300dpi. I have been too generous with the crop produced by the Actar 24mm, as the size of these files should be the same.

The Actar 60mm is a better lens for this type of work. Of course longer lenses will suffer less with distortion and lens aberrations, we are also cropping into the image area, which is far more effective when shooting a panoramic image.
For further information about Cambo products contact your nearest dealer– Dealer Search.


